How to use the Pen & Pencil Tool in Illustrator
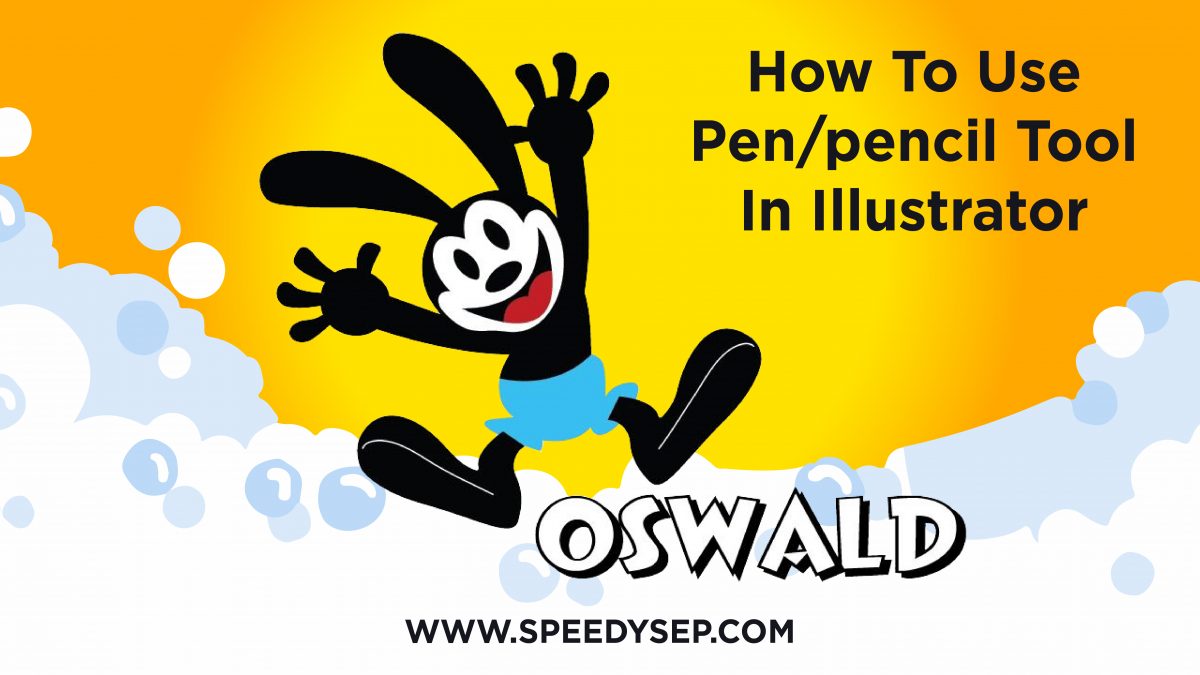

Hi, this is Gabby from SpeedySep. Today’s tutorial will demonstrate how to create a vector artwork using functions such as the Pen Tool and the Pencil Tool.
I’m going to start off by dropping down the Opacity of my source image that we are going to trace and putting a new layer on top. I’m going to then click on the Pen Tool option in our left-hand sidebar and trace over elements of the design. Please feel free to follow along in this tutorial, I will be drawing Oswald the Lucky Rabbit.
So, after you’ve drawn Oswald’s first ear, let’s go ahead and duplicate it. And I will show you how to use anchor points to manipulate a design. So, you see that the anchor points are on the edges of the design. By using the Direct Selection Tool, we can click and drag our points into different positions. We can then use the control handles to manipulate the direction of the curve.
And one other great tool is the Smooth Tool. So, as you see on this ear, there’s a little bit of a point at the tip of Oswald’s ear. We could then go use the Smooth Tool to smooth it out. All you need to do is drag it over the section that you want smoother until you find something that you like, something that looks softer and cleaner. And we’ll just continue to do that for all the other aspects of our design, manipulating the anchor points and smoothing out rough edges.
Now, for Oswald’s face in this design, we’re trying to create or design based on our source image. So, to get our objects into the desired shape, sometimes we will have to add or remove anchor points. In order to add or remove an anchor point, you would go to the Pen Tool tab, and underneath the Pen Tool, there’s Add Anchor Point Tool and a Delete Anchor Point Tool. So, right now, we’re going to have to use the Add Anchor Point Tool so that we can combine our shapes together to create the face.
And now, let’s just continue using Pen Tool, Smooth Tool just to clean up our design.
When there’s a sharp edge, there is an option to curve our line, to round out our points. And now using all the tools and tricks that we’ve discussed, let’s go ahead and finish our graphic. And there we go. We have successfully created a design.
And there we go. We have successfully created a vector design in Illustrator, and even one so far to touch it up in ways that make the image seamless, smooth, and adorable. Thank you so much for watching this tutorial. I really hope you enjoyed it.
Hey, have you tried Speedy Sep ?
Try if free for 7 days and automate your print shop.
deadline

No credit card required.
