How to make 3D Effects in Illustrator (Full Video Guide)

Hi! This is Gabi from Speedy Sep. Today I’m going to do a tutorial of 3d effects in Illustrator.
Just hit the play button 😉
The first effect that I’m going to show you is called Extrude and Bevel. We can access this by going to effect > 3D Extrude and Bevel. We’ll turn the preview on just to see what we’re doing, and I’m just gonna play around with the shapes that I have created. Changing the angles of the 3D effect, changing the depth, there’s a lot you can do with the 3d effects in Illustrator. So, I’m just going to click around just to show you all the different types of things you can do and all the effects that you can create.
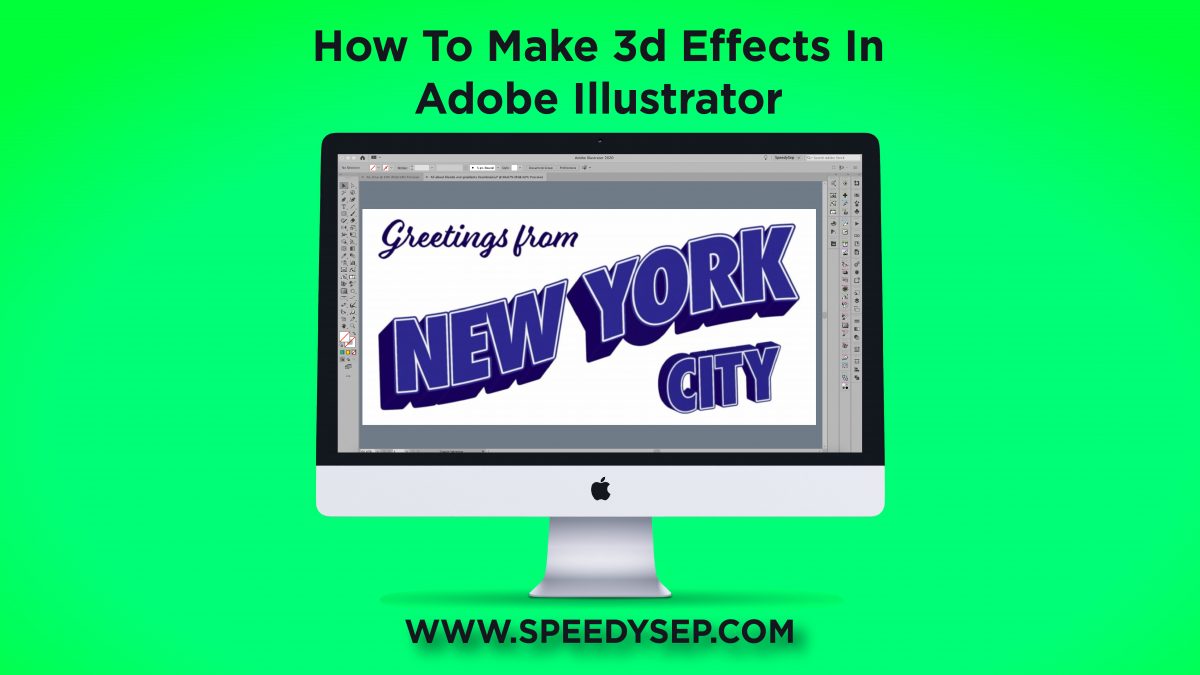
Now I’m going to show you how to create 3D text. I am going to create a “greetings from New York City” sign. So if you want to follow along, I’m going to show you all the steps that we’re gonna take. I’m going to start off with a script font for greetings from, and for New York City, I will use a block box. A good block font to use would be Futura. So let’s go to the Futura > Condensed > Extra Bold.
I’m just gonna play around with the spacing and stretching of our text to get something that looks good. Now we’re going to expand our text, object, and fill, or in other words, create outlines. Let’s merge it, and magic wand out only the black information. By doing so, we will be removing any straight paths. Now click command+A, it would just select all and delete all the excess information. And now we are left with just our black text.
Let’s go into the appearance panel and change our fill. At this point, it doesn’t really matter what color we go with. I’m going to use blue in the end. We can say it’s representing the New York Yankees. I’m going to add some extra outlines onto New York. Once we’re happy with how New York looks, let’s go back to 3D, Extrude and Bevel.
Let’s increase Bevel, maybe decrease it, a little bit more. Let’s get a happy medium. 250 looks good. Now we can move the angles around. See the different effects that we can create. We’ll bring the perspective back to zero, start from scratch. At this point, I’m just trying all different sorts of angles to see what looks best. If you want to follow along, feel free! However, I’m going to end off with our angles being 10 degrees, -10 degrees, and zero, and our perspective being zero.
Now let’s get really creative. Go to object, expand appearance, and then effect warp arc. Let’s preview rise, preview flag. Rise looks better for the effect that we are going for. And go back to object, expand appearance. Increase the size to fill up the space that we have created as our artboard. Now we’ll add city because we’re gonna do greetings from New York City. I’m just going to space out the text and then create the same effect without lines that we did for New York. And finally, let’s go back to effect > 3D extrude and Bevel, and we can play around with the rotation and angles for city itself.
I’m happy with this. We’ll have -15, -25, 8, and our perspective will be zero. Our extrude depth, in the end, is 75 points. Let’s go ahead and expand the appearance on city. Increase the size of all of our text. Align it properly, tuck city underneath New York.
And there we go! We have successfully created a ‘greetings from New York City’ sign using 3D text effects.
Thank you so much for watching this tutorial. I hope this helped you and I hope that you can utilize these tools or any design that you are trying to create.

Hey, have you tried Speedy Sep ?
Try if free for 7 days and automate your print shop.
Browse by Category
deadline


