How to create a halftones in Photoshop | illustration | Vector Art

Hello, everybody, this is William at Speedy Sep. And today, I’m going to showcase how to create a halftone in Adobe Photoshop.
So, what exactly is halftone? Well, a halftone is a technique that uses tiny or large dots of colored ink to simulate solid ink coverage. When varied in size and spacing, the dots generate a gradient-like effect. Halftones are a very popular method in the screen printing industry because you can use the gradient halftone as a solid stencil for your film, and this makes for an easier transition to the silkscreen, especially if you don’t own a RIP software that takes care of the dots for you.
So, with that being said, let’s jump right to it. So, the first thing you’re going to need to do is to get a file with a gradient. I’ve created this preset gradient with a different lens so I can showcase how it will look when a halftone is applied. I’ve also inserted a picture so you can see the difference. Then you’re going to convert your file into a grayscale under Image, Mode, Grayscale, then Flatten. You will then repeat the steps, Image, Mode, but this time select Bitmap. Notice that a Bitmap panel opens up. You can select the Output Resolution Pixel/Inch. I’m going to type in 300. The Method of the Halftone Screen, then hit OK.
Then a Halftone Screen appears for the Frequency, it’s just simply to determine the size of the done. I will set mine at 38, and the Angle that I will use is 450, and for the Shape of the dot, I will use Round. Hit OK. After you’re done, I will then switch my halftone back to Grayscale, then go to Image, Mode, Grayscale, and Size Ratio to leave it at 1.
I suggest using the History panel as well. This is located in the Windows, History, only because you can create a snapshot to toggle between your image to see your results before and after. So, to create a snapshot, simply go to the little camera icon below the path and name it as you please. I’m going to name mine 38/45. I will create another halftone with a more extreme approach, so you can see the difference. Simply repeat the steps. But when the Halftone screen appears, change the Frequency this time and set it at 10 instead of 38.
Notice that the halftone dots are bigger, then go to Image, Mode, Grayscale, Size Ratio, 1. Create another snapshot in the History panel and name this one 10/40. Now you’re able to toggle between snapshots to see the difference between halftones. This is a good technique to use for experiments in your choice of halftones. So, if you found this tutorial helpful, feel free to give it a thumbs-up, and remember to hit the Subscribe button. Until then, thank you for watching.
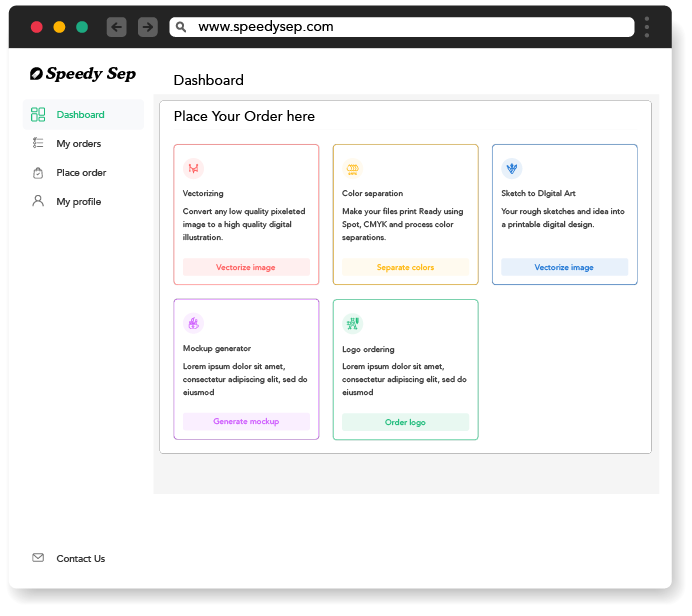
Hey, have you tried Speedy Sep ?
Try if free for 7 days and automate your print shop.
deadline

No credit card required.
