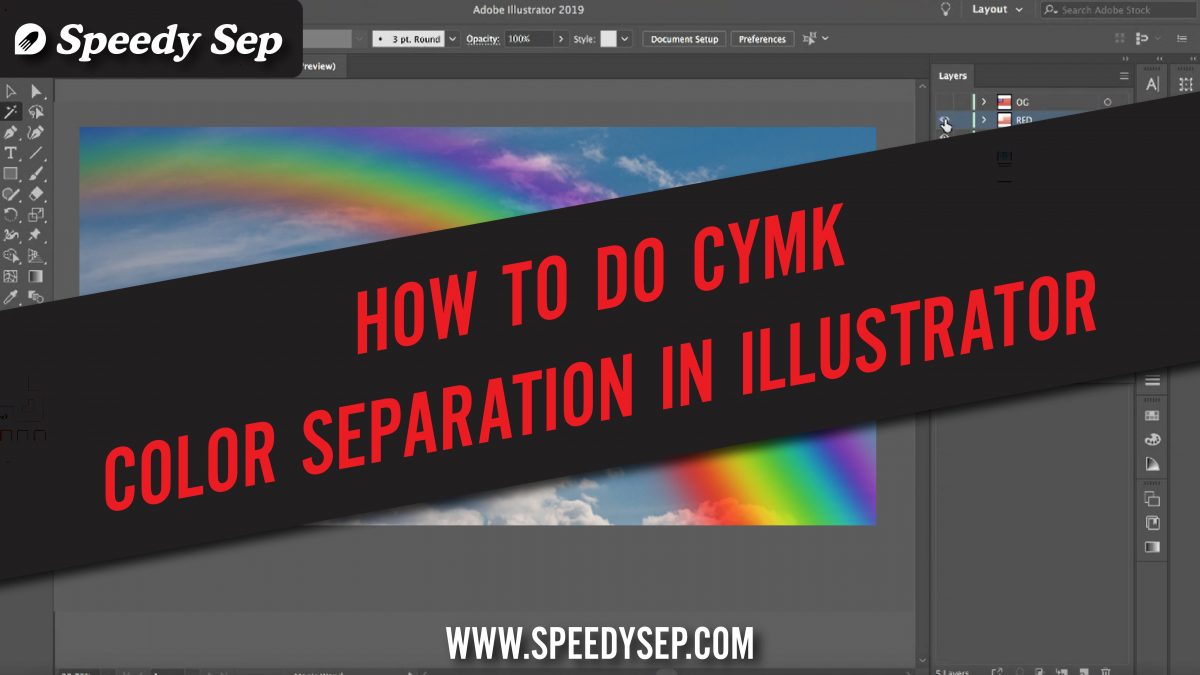
How To Separate CMYK 4 color Process For Screen Printing (Video Guide)

Just hit the play button 😉
Hi, this is Gabi from Speedy Sep. Today I am going to show you CMYK color separation. I will begin in Photoshop and make my way to Illustrator to show this process for screen printing purposes.
To begin, I’m going to open a raster graphic, in this case, a JPEG in Adobe Photoshop. I will then go to image > image size, and make the resolution 300 pixels per inch if it is not already set to that. The reason for this is because 300 pixels per inch is standard for print.
Next, I will go to image mode > CMYK color, again if it is not already set to this, and then click OK. You will want to open the channels tab to see each color broken down and how they look when layered over one another.
Our next step is to halftone each color. To set this up, we will separate each of the color channels. We will then select the entire image, copy > go to edit > copy or command+C > then go to edit > new or command+N and then paste. We can do this by going to edit > paste or command+V. You can label each file as its respective color. I will do this for each color channel. Just keep in mind that your halftone value is dependent on your screen mesh. Once we have each channel as separate files, we can begin making them halftone screens.
If you would prefer to keep all your work in one file, that’s OK to do, in order to keep your work organized. I prefer separate files, so I will continue our tutorial this way.
For each color go to image mode bitmap, click OK to flatten layers, even though we only have one I’ll press OK just for consistency. Your resolution area and value of input and output must be the same, in this case, 300 pixels per inch, and method should be used halftone screen. Then frequency can be set to 60, and your angle will be different depending on your CMYK color value. The angle for cyan will be 15, for magenta it will be 75, and for yellow it will be 0, and for black it will be 45. We will make the shape round. As we can see, the image consists of many dots, these show the halftone values you’ll want to zoom in to really see what it looks like.
Once you’ve completed this process for each of the four colors, we will need to change them to grayscale. We do this in order to create transparency. Our goal is to have a transparent background. To do this, go to image > mode > grayscale. Make the size ratio 1 and then click OK. Zoom in closely to see the dots, and once you do so, go to select color range, and then using your mouse you’ll see an eye drop tool, and you’ll click on a black area. Set your fuzziness to the max which is 200 and press OK. Now only the visible black information is selected, hit command+J to create a new layer with just what is selected. Delete your background layer and you will see it is now transparent.
Now let’s go to file > save as, and we’ll click on TIFF. Uncheck layers so that this is the only layer being saved. Obviously we only have one layer here because I separated the files but we’ll do it for consistency. Press save and check Save transparency in the bottom left corner, and then click OK. Repeat this for every color.
Now let’s open up Adobe Illustrator. Go to file > place and select your four tips. Make sure they are all aligned perfectly. You can even label the layers with the CMYK for extra organization. Once you place them in illustrator, they will be set to black. Make each color of CMYK a spot color and give color to the respective test.
Thank you so much for watching this tutorial. I hope that this helps you with CMYK color separation.

Hey, have you tried Speedy Sep ?
Try if free for 7 days and automate your print shop.
Browse by Category
deadline


