Color Separation for Screen Printing Illustrator (Guide)

Hi,
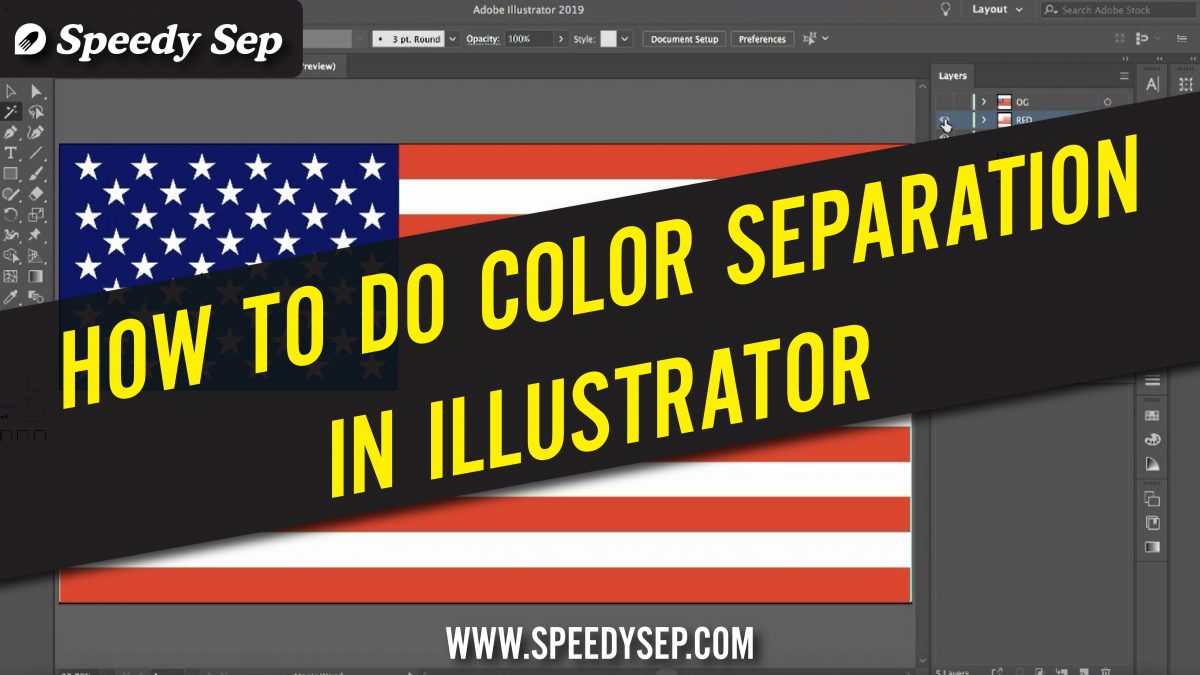
Today we are going to learn how to color separate an American flag.
To begin, have your vectorized design open up in an illustrator tab. Make sure that all of your colors match. Meaning, let’s say, there is more than one red swatch in the design. You can go ahead and consolidate it to one color. To do this, we’re going to grab all the contents from the original artwork layer and go to recolor artwork. Here you will find each individual color swatch. As I said before, if there’s more than one, just go ahead and consolidate it.
Setting up your layers neatly is also extremely important. I recommend labeling each layer by color. Also saving your original layer is a good idea in case you have to refer back to the original or you made a mistake and have to start over.
We’re going to begin by creating a new artwork layer. We can call this red. We’re gonna select everything on this layer > go to object > expand, and then go to the Pathfinder and hit merge. Then from here, we’ll make two new layers, and we will call these white and blue. We’ll hide the in the blue, and we’ll just be on our red layer. So, on our red layer, we will go to the magic wand tool, and we will delete all the white and the blue information.
Next, we will go to the white layer, and we’ll do the same. We will delete the red and the blue. Finally, on our blue layer, we will delete the red and the white. Once you’ve successfully separated your colors, check that each layer only contains the list of colors. The blue layer only has blue, the white layer only contains white, and the red layer only contains red, and together they make an American flag.
And that’s it! We’ve successfully color-separated an American flag.

Hey, have you tried Speedy Sep ?
Try if free for 7 days and automate your print shop.
Browse by Category
deadline


