5 Secrets for Great Print Design
Make Amazing T-Shirt Art Without the Stress
When someone buys a t-shirt in a retail store, they are drawn to the message and the visual design. The company that produced it, the store that sells it, and the way it is marketed are secondary considerations.
It is not difficult to create a successful design to print on apparel. All you need is a lot of time and a little knowledge to avoid costly mistakes.
The secret? Set up a design system before you start laying out the actual design. Plan your colors, fonts, images, and written content to save time and anxiety.
Getting Started
There is a learning curve for design newbies. You may spend an unbelievable amount of time resizing things, moving elements around, changing the background color, and experimenting with shading and outlines. This is not the time to agree to a tight deadline!
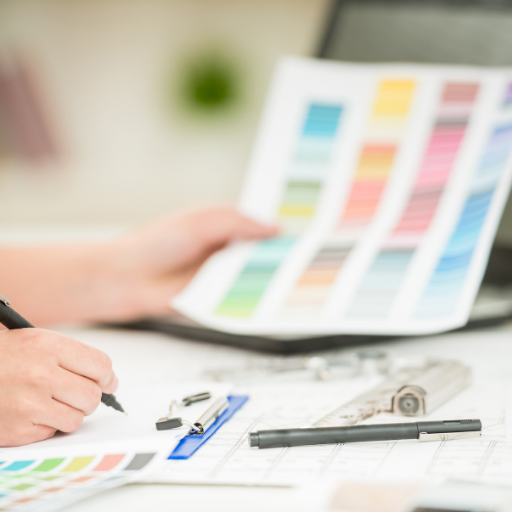
#1: Create a Design System
This is simply a chart of the basics for your design. A spreadsheet is a great place to create your design system. Include the colors, fonts, shapes, images, and the written text you plan to use in your design.
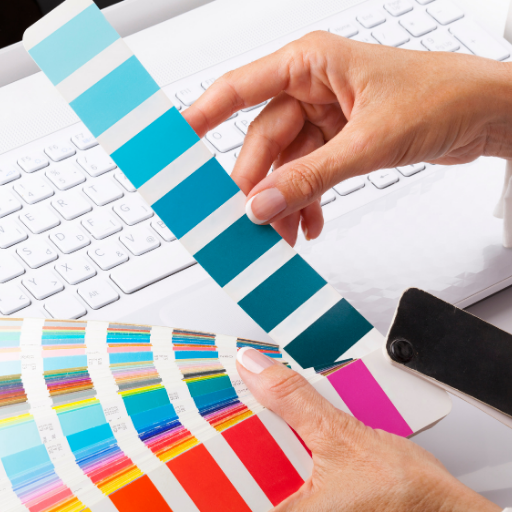
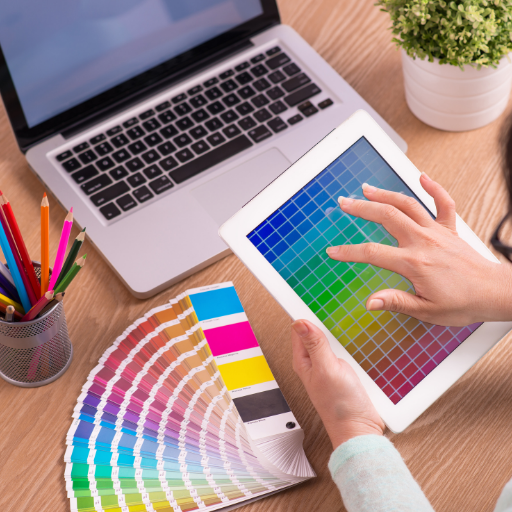
#2: Color Selection
For a professional look, you need to use exactly the same colors on your elements that are used in the client’s logos and branding. Don’t guess; ask your client for the color’s hex#. Likewise, if you select a color to add to the design, document the number so you use it consistently.
Begin your palette by making a chart of the branding colors and numbers. There should be at least three different colors that go well together.
If the client has monotonal branding (several shades and tints of the same color) or less than three colors, you have the freedom to add to the palette. Use an online color wheel to find colors that complement or contrast effectively.
On the other hand, don’t use too many colors. It will make your design too “busy”, which can distract the eye away from the message you want them to get.
Finally, just to state the obvious: Add to the palette the color of the garment to be printed. When you choose complementary or contrasting colors, you do not want to end up with a dark design on a dark shirt, or hot pink on orange. Enough said.
#3: Typography – Fonts and Weights
In most cases, your client will have the fonts and weights used in their logo and other branding. Use them – don’t miss the opportunity to reinforce their brand recognition.
You may not be limited to corporate fonts, or they may have only one. You can use up to two fonts on a design with few text characters, and up to three fonts for more complicated text.
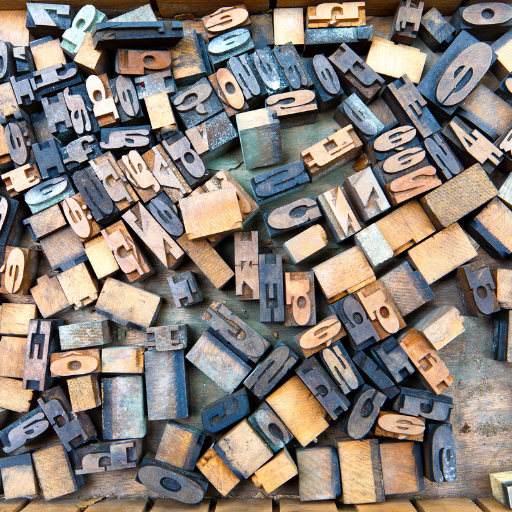
Pairing the typography is important when you are working with multiple fonts. If you have a big, bold font with serifs, it should be paired with a thin, non-serif font that is not bolded.
The most important thing: Make it as easy to read as possible. Take a minute to research fonts that work best on t-shirts or other items you will be printing. Using a tool like In-Design® allows you to use alignment features as well as tracking and kerning.
On your design system, add the name of each font, the weight, and some sample text using that font.
#4: Using Existing Images
Carefully choose the logos and other images you want to include. Never, ever, never use poor-quality images in your design. It will only lead to disappointment and costly re-dos.
Copy and paste them into your design system.
#5: Written Content
If the design is meant to showcase the client’s brand, you will probably want to include the company name as well as their tagline. If appropriate, add contact information – web address, phone, or social media.
Keep the content simple and concise; don’t use even one character more than needed. This is not an English class, and you don’t get extra credit for fluffy, filler words!
Add the text to the design system along with a reminder to yourself: When all of the text edits are done and before you finalize the design, put the text in MS Word or GDocs and run the spelling and grammar checker.
Double/triple-check numbers and proper names that the spell check may not find.
The Design Layout
If you overdo the design, stuffing it with all the elements you can think of, it will be overwhelming. If it gets printed, you will have a stack of tacky t-shirts.
When you are ready to start the design, create or import all of the elements in your design system. Arrange them in a sensible way, and study the design to see what is missing and what is unnecessary. Remove all unnecessary clutter, and start brainstorming any elements you need to add.
Making the Message Clear
It is your job to show the beholder of your design the most important message. Rank your design elements by importance, because you want to emphasize the most important and downplay the rest.

You can use the classic artist’s trick and create a 3×3 grid that covers the design area. Where lines intersect, you have focal points. Place the strongest part of your communication on a focal point.
Study your design draft to see if the main meaning is the most eye-catching part of the design. If not, edit the size, color/contrast, and placement of each element to increase or decrease its visibility.
Shapes & Lines
Take a moment to look at the fonts and images you will be using. What shapes, if any, would complement or contrast nicely?

If your primary font is bold, fluid, and swirly, see what it looks like next to circles, squares, and triangles to see what works and what fails. If the fonts and logo are complex, maybe a simple, well-placed line will do the trick.
Balance
Distribute the elements so that one side or one area does not seem “heavier” than the rest of the work. Use white spaces wisely. A little extra space around the logo or main message may increase its readability.
Technical Considerations
Size, Placement, & Overall Look
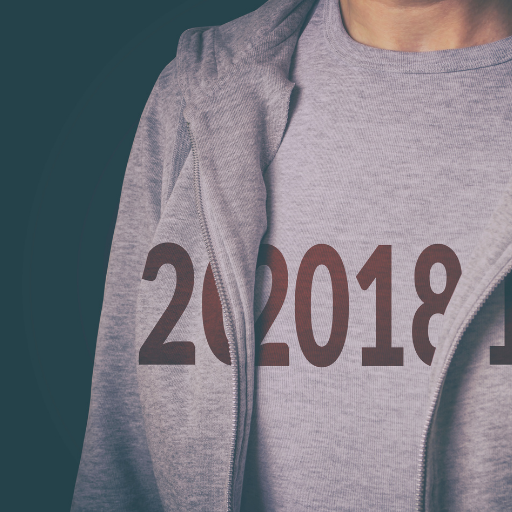
Size is one of the most critical factors in a successful design. If you will be printing a left chest design, the size of your design will be smaller for a children’s shirt and larger for an adult. You must save your design in the ideal size for the printing to be done.
An interrelated challenge is placement of the design on the t-shirt. An eighth of an inch too high can ruin a sleeve print. You need to understand the rule of thumb for each type of printing, such as the number of inches from the center column.
Finally, you need to understand the difference between how your design looks on your digital screen, and how it will look when printed. Colors may look more or less vivid, and subtleties may be more pronounced. If possible, use a mockup generator so you can see the colors and confirm the correct placement of your design on the t-shirt.
File Specifications
Choose your file format carefully to be sure your design doesn’t lose quality from being compressed. The best file formats to use for a vector image are .eps .pdf .svg .cdr. The best formats for a bitmap image are .png .tiff .jpg.
Conclusion
To sum it all up, you need to pay close attention to every tiny detail in your design. Pre-plan the five most important elements in your design – color, typography, shapes, images, and text – so you can play with the design without having to rethink various elements.
Give your client two or three drafts to choose from, and get their formal sign-off before you finalize the design and print.
Sources
https://www.graphicszoo.com/article/important-print-design-dos-and-don-ts-design-guide
https://blog.designcrowd.com/article/1658/t-shirt-design-dos-and-donts-that-will-save-you-time
https://helpx.adobe.com/indesign/how-to/standard-design-practices.html
https://www.canva.com/learn/visual-design-composition/
After reading this article, you may decide you cannot devote the time needed to create a design yourself. Consider outsourcing the work to an experienced, professional designer so you can focus on printing fabulous apparel.
At SpeedySep.com, one of our in-house designers will work directly with you to make sure the design is perfect – with unlimited revisions. We offer a mockup generator so you can preview your design at any time.
Hey, have you tried Speedy Sep ?
Try if free for 7 days and automate your print shop.
deadline

No credit card required.
